
Every hiker is totally different and, due to this fact, each hiker’s gear must be totally different too! Any solar hoody you buy will inevitably have a couple of quirks and some lacking options you would like had been added. Whereas a stitching machine could make the method simpler and sooner, the entire under modifications will be made with only a needle, thread, scissors, and a little bit of recklessness!
Three Primary Stitches You Must Know
With simply three primary stitches, you begin to unlock the power to make small tweaks to all of your gear!
The Backstitch: To create a backstitch, begin by bringing your needle up by means of the material after which taking a small sew ahead. The important thing to the approach is the subsequent step: you convey the needle up once more a brief distance forward of your first sew, however as an alternative of constant ahead, you push the needle again down into the precise finish of your first sew. This motion of “going backward” to satisfy the earlier sew is what creates a safe and neat line on the entrance of the material.
The Whipstitch: The whipstitch is without doubt one of the best stitches you’ll be able to study. To create it, you go the needle out and in of the material in a collection of straight, diagonal stitches that “whip” over the sting. You convey the needle up from the again of the material, loop it over the sting, and push it again by means of a brief distance away, repeating the movement to create a neat, slanted line of stitches.
The Buttonhole Sew: Whereas barely extra sophisticated than the whipstitch, the buttonhole sew creates a extra sturdy and fray-proof end result. To do it, you begin by bringing the needle up by means of the material. Then, you make your subsequent sew by taking place by means of the material from the entrance and coming again up by means of the outlet. Earlier than pulling the thread tight, you wrap the working thread behind the tip of the needle. As you pull the thread throughout, a small, tight knot or “purl” varieties proper on the sting of the material, which locks every sew in place.
4 Modifications You Can Make to Your Solar Hoody At Residence
1) Thumb Holes
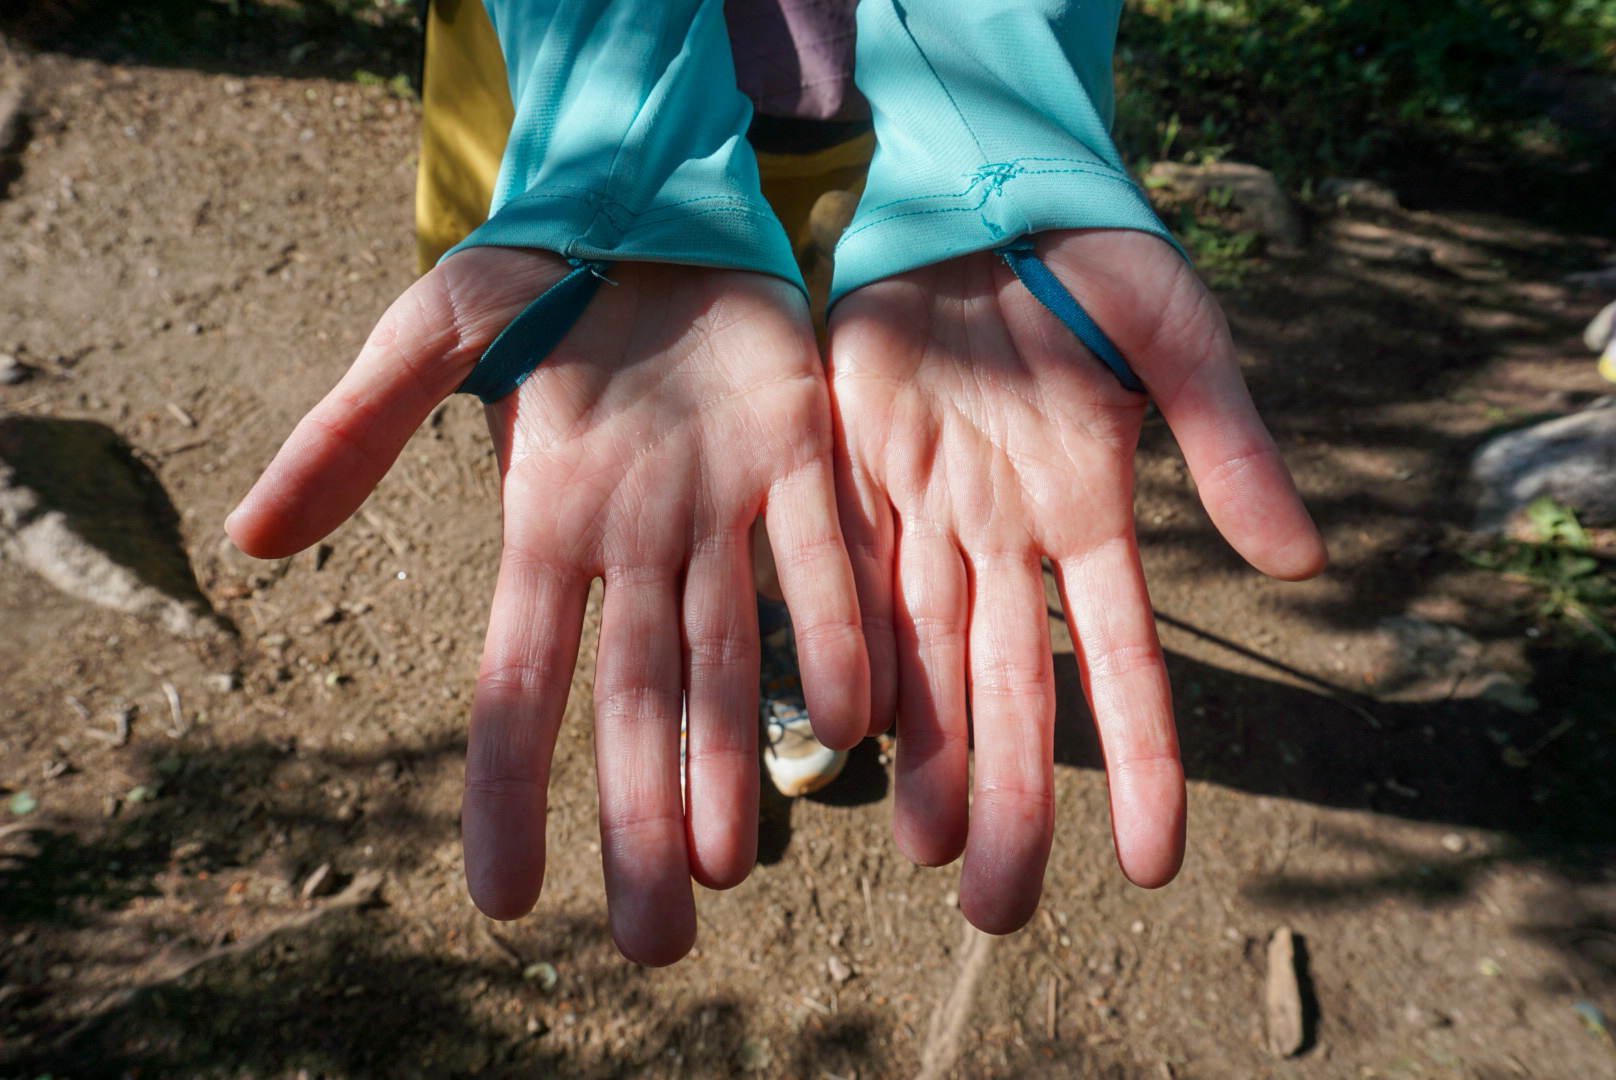
I believe we will all agree thumb holes are among the finest innovations of the trendy world. Not solely do they preserve your sleeve from using up your arm, however they defend the tops of your hand from sunburn. There are two methods so as to add thumb holes: reduce into the sleeves and hidden elastic beneath the cuff.
Built-in Thumb Gap
In case your sleeves are lengthy sufficient, and naturally fall over your arms, a gap reduce into the sleeves itself could also be your greatest guess.
Placed on the hoody and mark the precise spot the place you need the thumb gap to be. It must be on the seam the place the cuff meets the sleeve, or barely above it, on the highest facet of your hand. Then, flip the sleeve inside out. Utilizing a backstitch, sew a small, tight sq. or circle (about 1/2 inch) the place you made your mark. This reinforcement will stop the material from unraveling.
Now comes the scary half: you must reduce your sleeve. Fastidiously snip a small horizontal slit within the middle of your bolstered space. Begin with a really small reduce (1/4 inch) and take a look at the match. You’ll be able to at all times make it slightly bigger if wanted. To stop fraying, use a buttonhole sew or a decent whipstitch across the edges of the reduce. This can create a neat, sturdy opening.
To stop fraying across the thumb maintain, use a buttonhole sew or a decent whipstitch across the edges of the reduce. This can create a neat, sturdy opening that gained’t rub towards your hand.

You gained’t notice how sunburned the tops of your arms get whereas thru-hiking till you put on a hoody with out thumb holes.
Hidden Elastic Thumb Gap
In case your sleeves don’t naturally stretch over your arms, you’ll be able to connect two little items of elastic to operate as thumb holes.
Placed on the hoody and decide the precise spot the place your thumb will comfortably sit. That is normally on the seam the place the cuff meets the sleeve, on the highest facet of your hand. Mark a small dot on the within of the sleeve at this location.
Minimize a small piece of elastic twine or a skinny strip of stretchy cloth. A chunk about 2-3 inches lengthy is an effective start line, however you’ll be able to modify it to your choice. This would be the hidden thumb loop. Be sure that the material is comfy and clean, as will probably be rubbing towards your arms for a whole bunch of miles.
On the outer sleeve, on the marked location, fastidiously snip a really small horizontal slit—simply massive sufficient in your thumb to go by means of. Begin with a tiny reduce and take a look at the match. Use a buttonhole sew or a decent whipstitch to bolster the sides of the reduce. Then, flip the sleeve inside out. Take your elastic or cloth strip and fold it in half to create a loop.
Place the 2 ends of the folded loop on both facet of the thumb slit you simply created, on the within of the material. The loop itself must be on the within of the sleeve. Utilizing a backstitch, sew the 2 ends of the loop securely to the within of the sleeve cloth. This stitching must be on the within and never seen from the skin. Be sure that the stitching is tight and powerful, as this might be some extent of stress.
Flip the sleeve proper facet out and take a look at the thumb loop. Your thumb ought to now go by means of the slit and relaxation comfortably within the elastic loop contained in the sleeve. The elastic will present a comfortable match that gained’t stretch out the material over time, and the complete modification might be hidden on the within of the garment, leaving the cuff wanting clear {and professional}, which everyone knows thru-hikers to be!
A bonus of an elastic thumb gap is that the material of the solar hoody gained’t get fairly as soiled as a hoody the place the complete sleeve covers half of the hand.
2) Hood Closure
A hood closure can stop the hood from flying off within the wind and supply further solar safety in your neck and face. And, as a bonus, it’s as straightforward as stitching on a single button!
To begin, placed on the hoody and decide the place you need the closure to sit down in your chest or neck. Use a material pen or chalk to mark a small line on the inside edge of 1 facet of the hood. The size of this line must be barely longer than the diameter of your button. Flip the hoody inside out and, utilizing a decent backstitch, sew a small, rectangular field across the marked line. This reinforcement is essential for stopping the material from fraying as soon as you narrow the buttonhole.
Fastidiously fold the material alongside the marked line and snip a small gap within the middle of your bolstered field. Be very exact and begin with a smaller reduce than you suppose you want. You’ll be able to at all times make it longer later! Use a buttonhole sew to safe the sides of the reduce.
As soon as the buttonhole is completed, you’ll be able to connect the button to the alternative facet of the hood. Lay the hood flat and fold one facet over the opposite, as if it had been closed. With the buttonhole facet on high, use your pen to make a mark on the underside layer of the hood by means of the middle of the buttonhole. This makes certain that your button might be completely aligned.
Utilizing a backstitch, sew a small circle or sq. on the within of the hood the place you made your mark, which can assist with fraying. Place the button over your marked spot on the skin of the hood and, utilizing a powerful thread, go the needle by means of one of many button’s holes, by means of the material, and out the again. Carry the needle again up by means of one other gap and repeat a number of instances. To create a shank (a small hole between the button and the material), you’ll be able to place a pin or toothpick beneath the button as you sew. As soon as completed, wrap the thread tightly across the stitches on the again of the button a couple of instances to safe it.

On days when the terrain is considerably technical and I don’t need to fear about hair blowing in my face or my hat flying off, I really like the button closure (even when it makes me appear like an overstuffed scarecrow).
3) Hair Vent
In comparison with including a hood closure, including a hair vent is a chunk of cake. For these of us with a whole lot of hair, it’s very nice to have the ability to go it by means of the hood and preserve all of that scorching, heavy, sweaty mess off of our necks.
First, discover the crown of your head when the hood is on, or the spot the place your ponytail/braids sometimes begin in your head. That is the place the vent must be positioned. Mark a small horizontal line (about 1-2 inches lengthy) with a material pen or chalk.
On the within of the hood, sew an oblong field or a circle round your marked line utilizing a decent backstitch to maintain the material from fraying with use. Fastidiously snip alongside the marked line. Lastly, once more to stop fraying, use a buttonhole sew or a decent whipstitch to safe the uncooked edges of the reduce.
That’s it; you’re accomplished!

I’ve a whole lot of hair, and sometimes really feel like I would like to decide on between tangles or overheating. A hair vent will not be probably the most modern, however it will get my hair off my neck with out continuously tangling towards the material of the hoody.
4) Watch Slit
The method for that is largely similar to the hair vent, and can allow you to simply test the time and stats in your watch with out having to drag your sleeve up and over it.
Put the hoody on and mark the situation of your watch face on the skin of your sleeve. The slit must be slightly longer than the face of your watch. Flip the sleeve inside out and stitch a decent, slender rectangle across the marked space. This can present a powerful basis for the slit and stop it from tearing over time.
Fastidiously reduce a horizontal slit within the middle of the bolstered rectangle and use a buttonhole sew to create a clear end across the slit.

After I’m not carrying a solar hoody, I get so pissed off at having to hike no matter garments I’m carrying up over my watch to see what elevation I’m at.
Make Your Gear Work For You
Don’t accept gear that frustrates you simply because that’s the way it’s made! Whereas there could also be a slight studying curve, taking step one to modifying your gear to suit your wants will serve you effectively down the path. Nobody desires to spend six months barely aggravated on the solely shirt they’ve with them!
No responses yet